🦸💻☕ Unleash Your Coding Superpowers: The Epic Tale of Customising My Cloud Development Environment with a Side of Java (Coffee, That Is!)
Hey there, fellow code warriors! We all know the thrill of customising our [working | coding] environments, right? It’s like trying to find that perfect coffee grind for your latest beans to get an epic morning v60 brewed. I used to lose myself for hours, fine-tuning my terminal colours, crafting the most epic prompts, and basically making my computer look as cool as the latte art by a winning barista at the world latte art championship. I even went as far as creating a labyrinthine collection of dotfiles and a convoluted bootstrap process (don’t judge, we’ve all been there)! While it was meant to be reusable then ended up being single use and long lived with the life of a machine (multiple years back then).
These days, my laptop/desktop often serve as little more than high-priced web browsers and I regularly alternate or change devices. Ultimately I live in Chrome, surrounded by a thousand tabs, and that’s where 90% of my coding magic also happens. That’s why I’ve embraced Cloud Development Environments (CDE), a game-changer that I’ve been rocking for a while now. Even though my CDE is often as fleeting as a shooting star, I still want it to be familiar, efficient, and maybe even sprinkle a little street cred into my coding sessions. I still remember the first time I picked up an iPad pro (with a keyboard) to do some work in my favourite coffee shop and seamlessly update some code to transition back to my laptop when I returned home like it was the same device, just with an upgraded keyboard and monitor 😁.
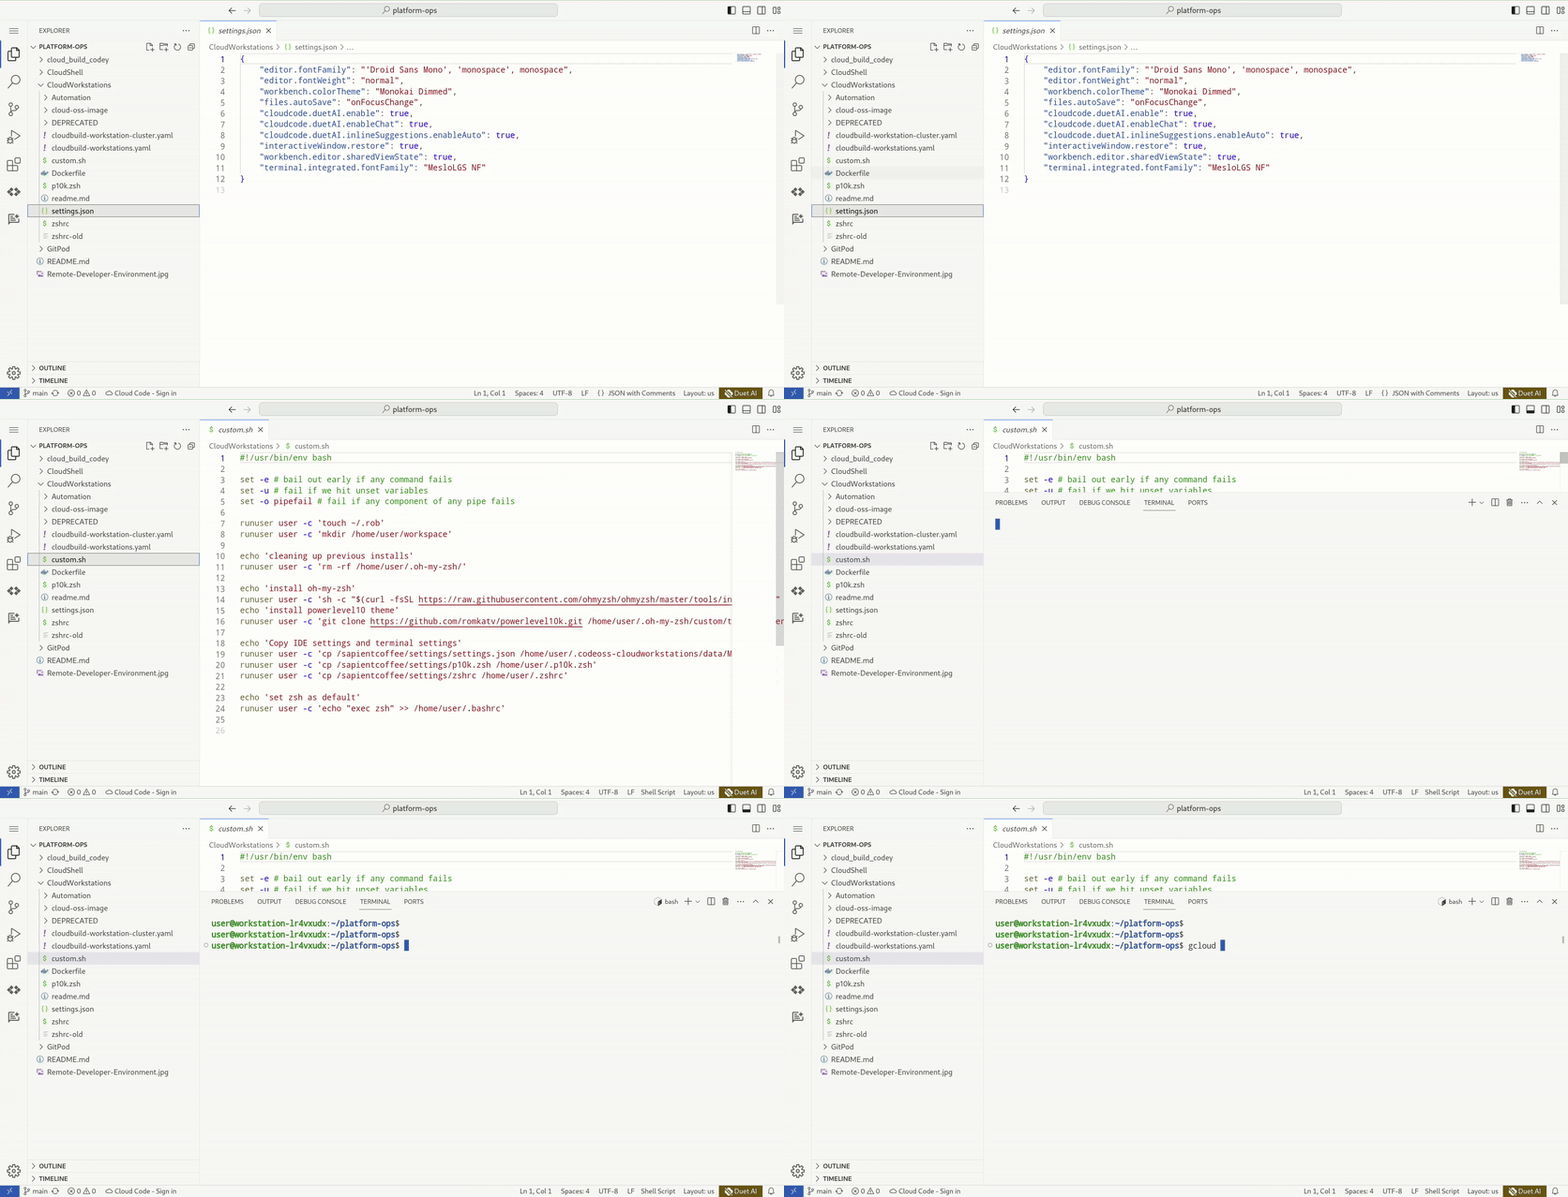
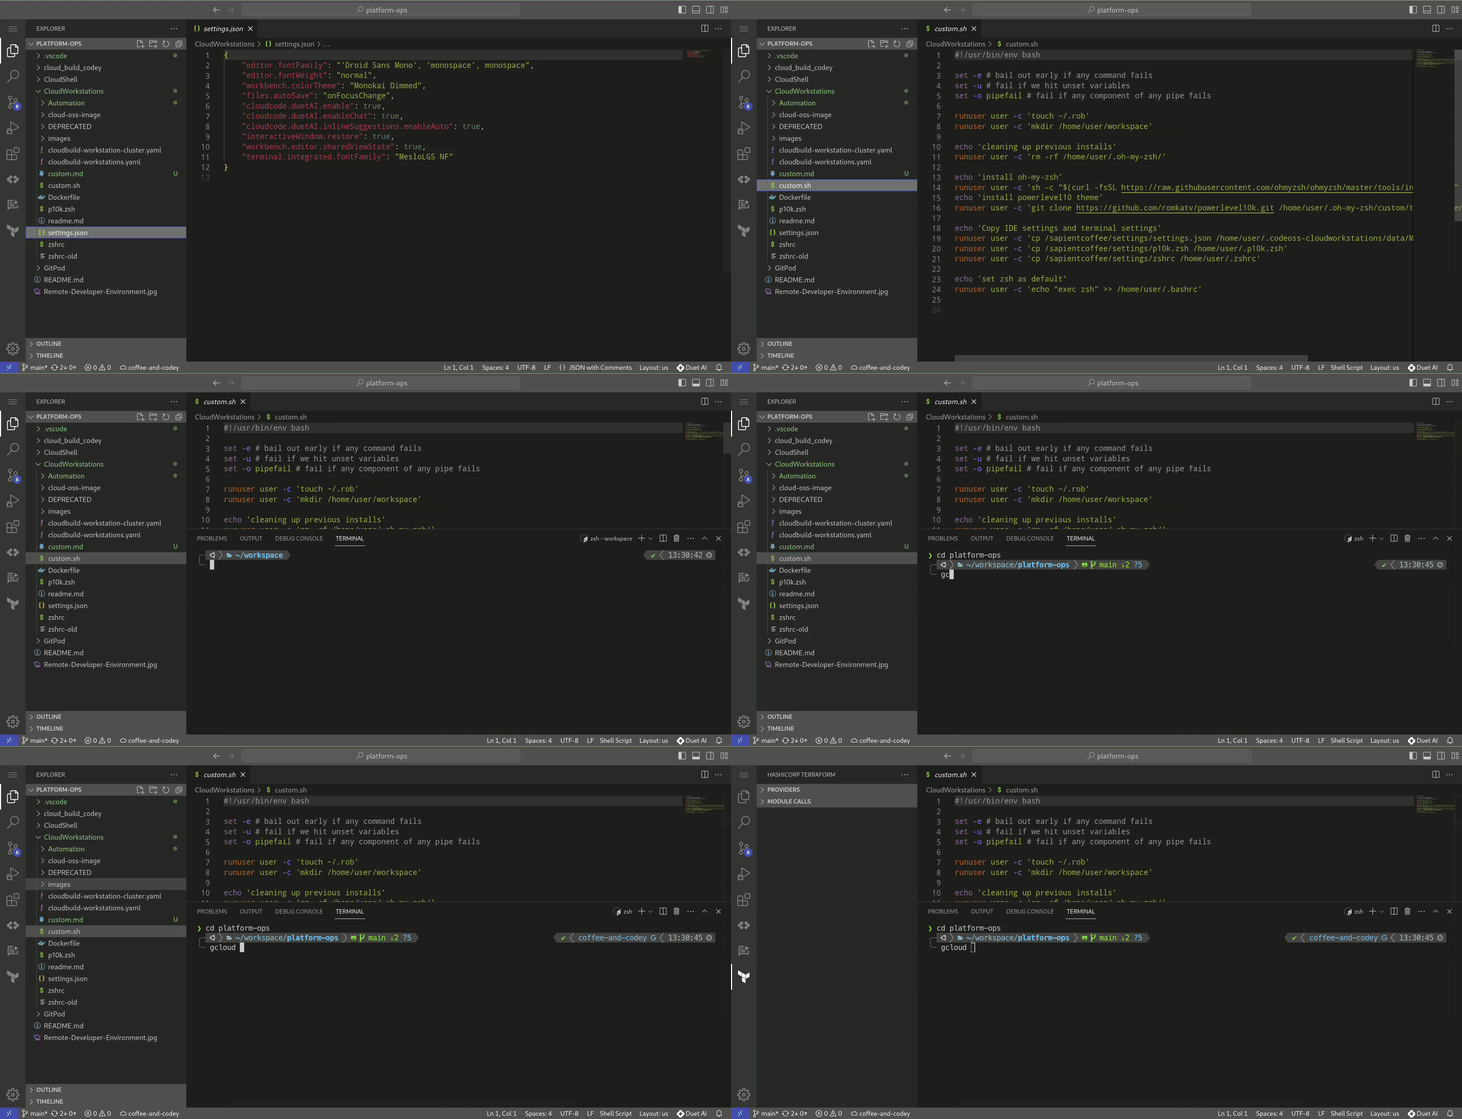
Lately, I’ve been diving deep into Google Cloud Workstations for my CDE needs. It offers Google-maintained base images, preconfigured with awesome IDEs like Code OSS, IntelliJ, PyCharm, and more. So, I thought, why not share my journey of tweaking these base images with customised themes, plugins, CLI tools, and terminal wizardry? Buckle up, because I’m about to take you on a thrilling ride through the world of custom cloud development environments. Hold onto your code and don’t spill that coffee while I take you from;
to =>
If you want to follow along my code is here.
🚀 Step 1: Base Image Configuration 🚀
First things first, let’s talk base images. Customising them is a breeze, thanks to the fact that each workstation image is container-based. To get started, I grabbed the latest and greatest Code OSS image maintained by Google Cloud and added it to my Dockerfile, just like choosing your favourite single origin coffee beans:
|
|
Then, I threw in some additional CLI tools that didn’t come with the base image but are absolute must-haves for me, like Terraform, Firebase, and Kustomize. Here’s a peek at how I did it using pretty standard Dockerfile methods:
|
|
With the binaries in place, it was time to sprinkle some plugin magic into my IDE. I simply downloaded these plugins and placed then in the relevant directory via my Dockerfile, grabbing them from open-vsx (more examples exist in the documentation:
|
|
Once my custom image was all set, I created it and pushed it to Artifact Registry using gcloud builds submit. I even set up a Cloud Build workflow to keep my image versioned and patched, ensuring my workstation is always up to date without interrupting my workflow. How cool is that?
💥 Step 2: Machine/User Settings (Sipping Coffee and Tweaking Settings) 💥
Now that we have a rock-solid base image, it’s time to dive into personalisation. As a long-time fan of zsh (just check out my dotfiles repo from the good ol’ days), I knew it was the way to go. I made sure to install zsh in my Dockerfile:
|
|
But wait, there’s more! Cloud Workstations offer machine, user, and workspace settings.
🌟 Machine Settings: These apply globally when you connect to your Cloud Workstations virtual instance and are stored in your $HOME/.codeoss-cloudworkstations/settings.json file.
🌟 User Settings: These also apply globally and persist in browser storage for each workstation instance.
🌟 Workspace Settings: Stored within a workspace, these settings only apply when you’re working in that specific workspace and appear alongside your workspace files in the $WORKSPACE_ROOT/.vscode/settings.json file.
Now, let’s sprinkle some themes, terminal plugins, and customizations into the mix. I crafted a script that runs during creation, customising the configuration and adding it to the default Cloud Workstations bootstrapping directory (/etc/workstation-startup.d/). Following the documentation’s sage advice, I named it 200_custom.sh. Because scripts in this directory run as root by default, I used the runuser command to run it as a different user (i.e. the workstation user). Here’s a taste of the magic:
|
|
To make these files available, I added them to the container image in a special directory I reserved for all my customizations and scripts (/sapientcoffee). Here’s how I did it:
|
|
What is the purpose of each file?
- [
.p10k.zsh] Terminal prompt configuration that is imported into the container image and transferred to the home directory via custom.sh to customise zsh with the Powerlevel framework. - [
settings.json] The Code OSS settings to customise the look and feel of the IDE interface (e.g. dark theme, enable DuetAI etc.). Transferred to the workstation container image and copied to the correct location bycustom.shat deployment time. - [
.zshrc] Zsh configuration that is transferred to the workstation container image and then copied to the correct location bycustom.shat deployment time.
That’s it! I’ve got a sweet, personalised cloud development environment ready to rock. And I’d love to hear about your own customisation adventures. Maybe you can help me level up even further? I’m thinking of adding a script that configures individual user settings with a CLI wizard (think git config) upon the first start. You can keep track in my Github repo. Let’s keep the coding excitement alive! 🚀💻✨


