I’ve been talking about and learning more and more about container technology over last 18 months or so, you could say that this post is old news! However I recently built a demo that involved creating a custom container rather than using one of the boring ‘Hello-World" examples that already exist. I thought it would be useful to record what I did and to share what I learned during the process.
Enter left the giant corporation ‘Mrs Miggins Inc’.

If you haven’t watched Blackadder you really need to (link to info).
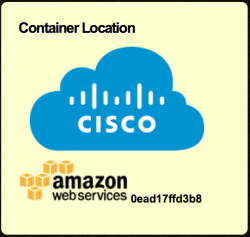
Mrs Miggins Inc has a pies division (as well as others but I will leave it at that for now).
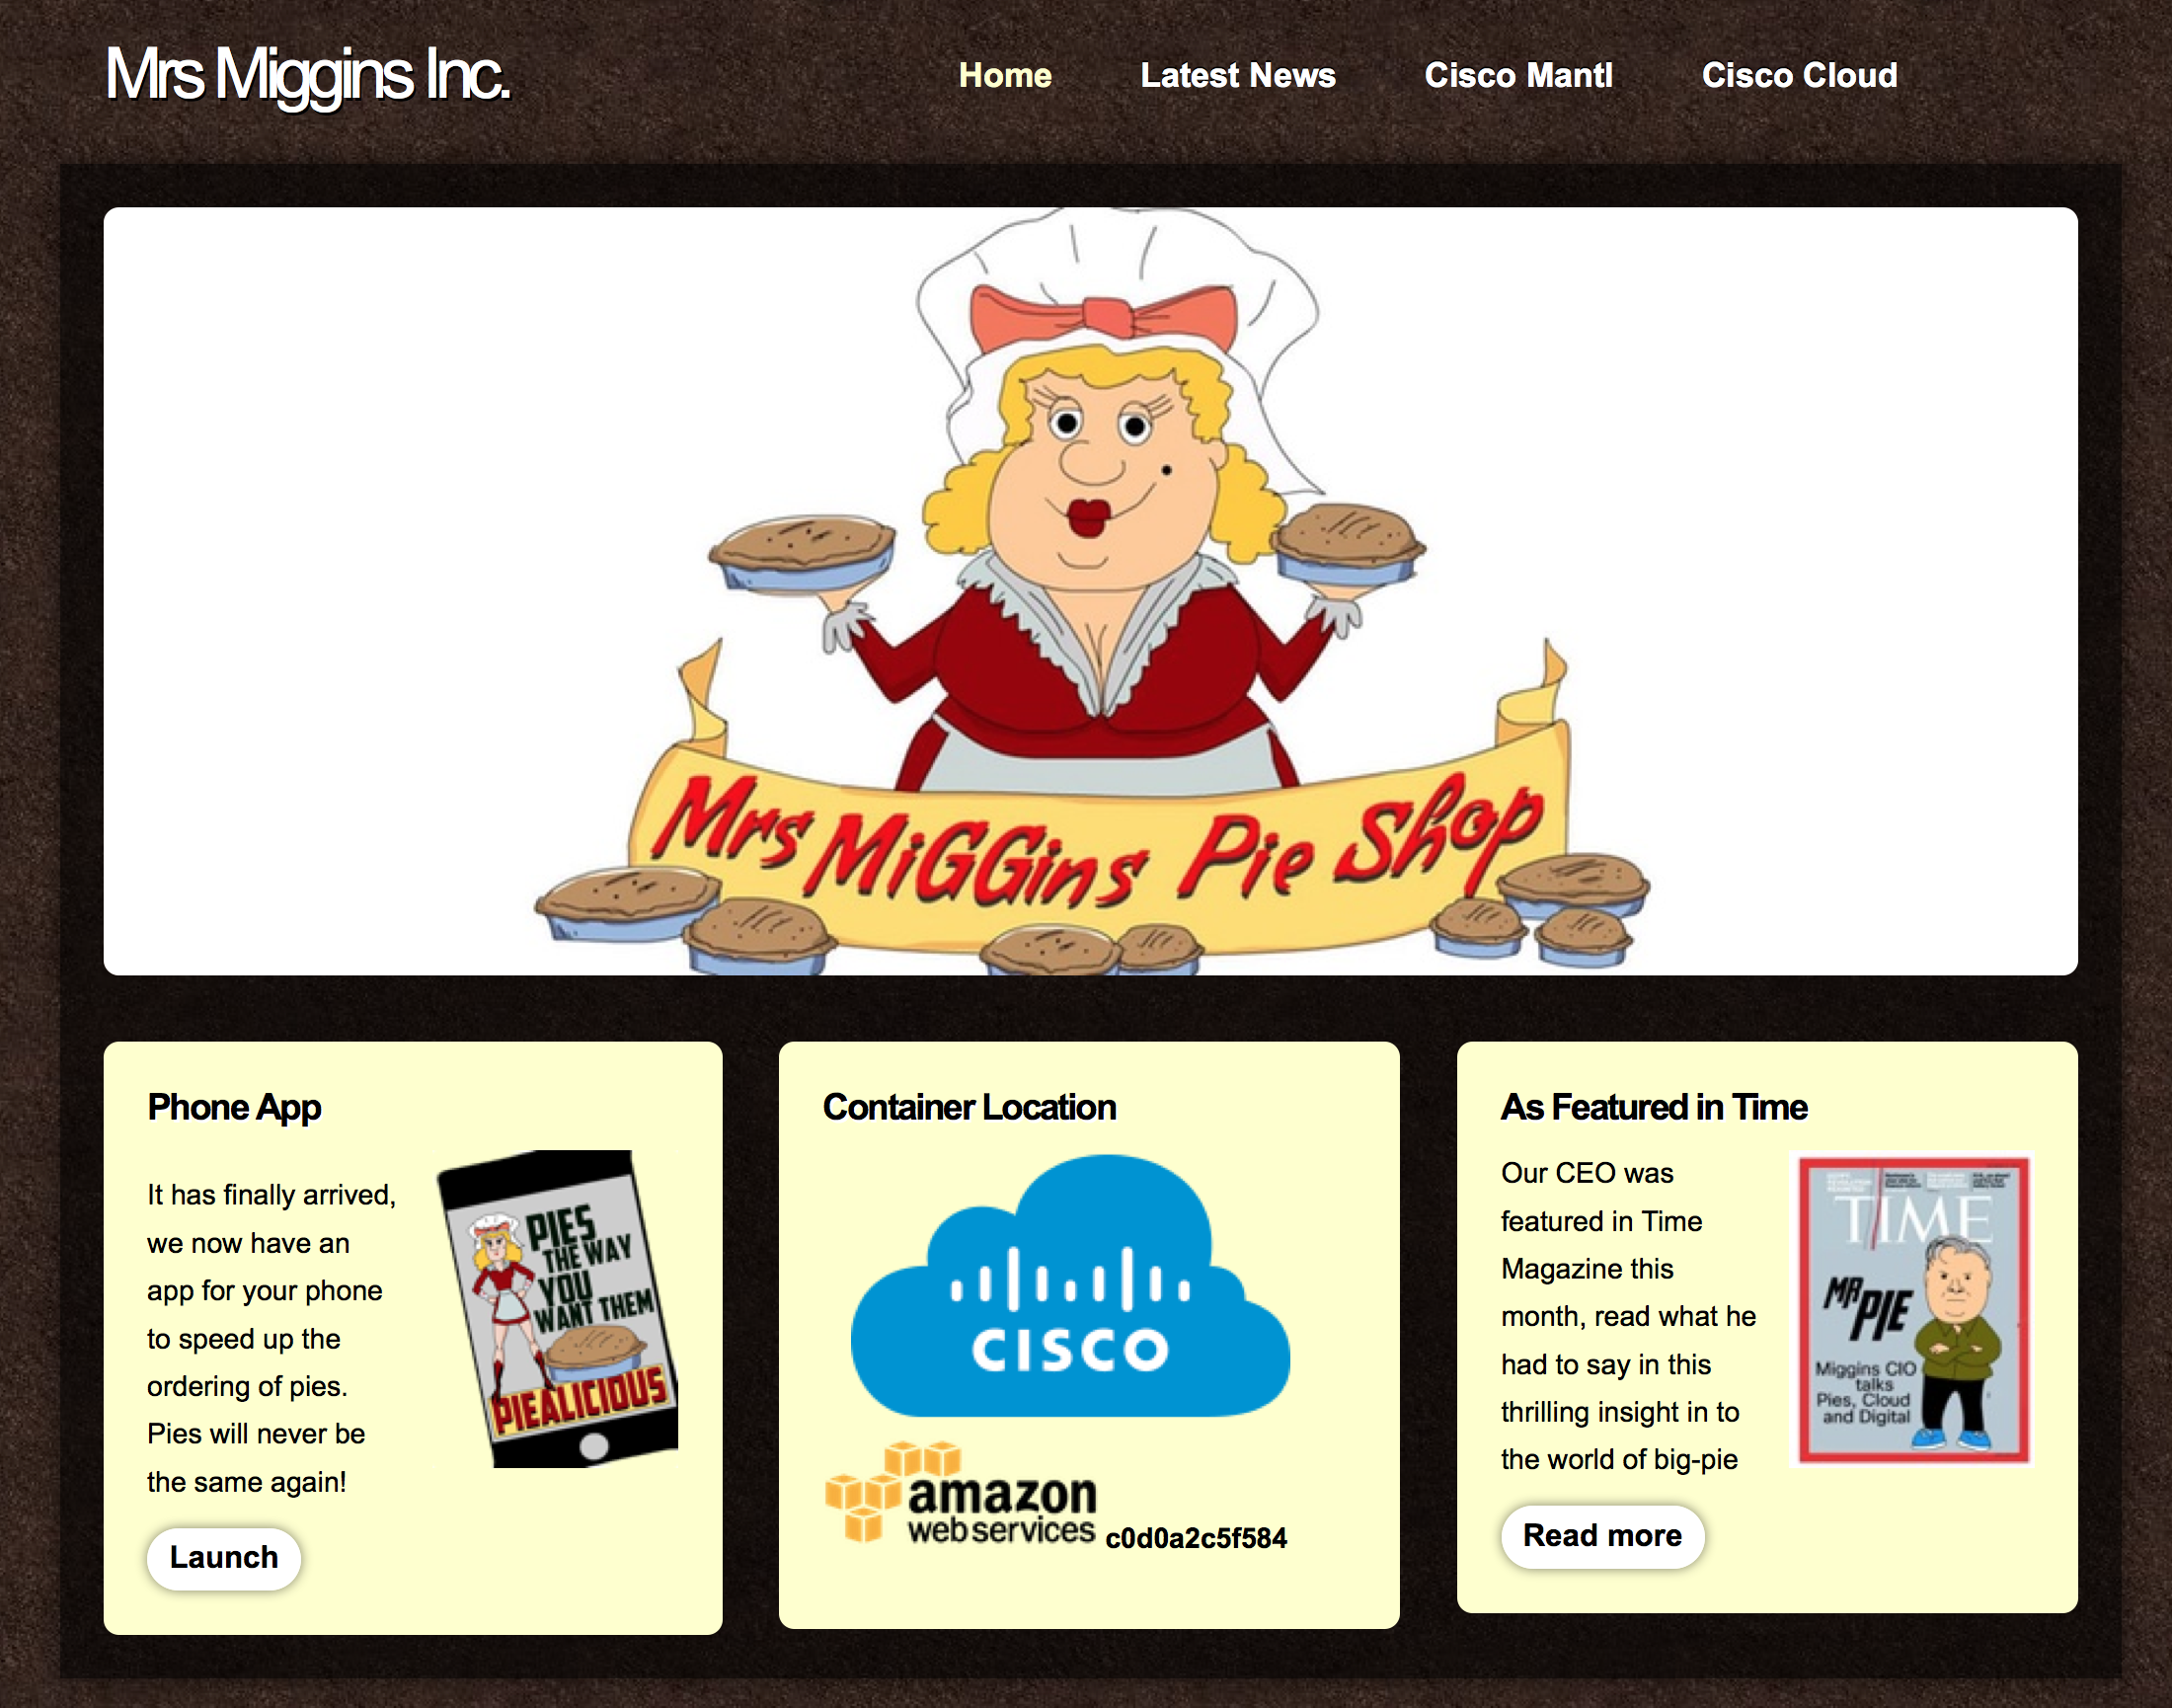
This is version 0.1, it’s a simple webpage built on top of Apache and PHP, it has some code to highlight which cloud the container resides on including the container ID.
To start with I created the website that would be used, for the people who follow me you will notice that this is the template I used for the TechHuddle back in January with a little bit of adaptation. The source is on GitHub (link).
Now that we have the website how do we containerise it? The two options I looked at were;
- Manually create the container
- Have DockerHub automatically create the container
I chose to use Docker as the container engine that creates the containers from images. Images can be created in several ways. The easiest way is to build a continuer with the files and configuration required and then convert into an image using the docker commit command (similar to taking VM snapshots).
Manual Image Creation (Dockerfiles)
While you can really create the containers manually by building up each of the layers yourself, to build my container (using docker commit) I decided to us a “Dockerfile” for this purpose (so not completely manual). A “Dockerfile” is a text document that contains the commands that need to be executed in order to build the image needed. The “dockerfile” makes things extremely portable and reusable. The steps I went through;
STEP 1 - In the root directory of my Mrs Miggins website I placed all the required files to build the image(s). This folder is called the “build context”, and this entire build context will be packaged and sent to the Docker Engine for use during the build process (in my simple example we only have the Dockerfile in this folder).
The Dockerfile is simply a list of the instructions that the docker build command will feed in when creating the image. To create the ‘Mrs Miggins’ homepage I used;
FROM tutum/apache-php:latest
MAINTAINER Rob Edwards
ADD index.php /app/index.php
ADD images/* /app/images/
ADD css/style.css /app/css/style.css
EXPOSE 80
WORKDIR /app
CMD ["/run.sh"]
The statements above can be organised into three groups:
- Metadata
- File System Instructions
- Execution Instructions/Environment
If we look at the Metadata categories that I’ve used….
- FROM - this defines the parent image for the new image (remember Docker containers are layers). To save reinventing the wheel I have used a previously created Apache/PHP image (“tutum/apache-php”) as the parent image.
- MAINTAINER - defines the author and/or collaborators
- EXPOSE - describes the ports that the container will listen on
- CMD - the script to be executed. My script is located at
/run.sh. The contents of the script are;
# more run.sh
#!/bin/bash
chown www-data:www-data /app -R

if [ "$ALLOW_OVERRIDE" = "**False**" ]; then
    unset ALLOW_OVERRIDE
else
    sed -i "s/AllowOverride None/AllowOverride All/g" /etc/apache2/apache2.conf
    a2enmod rewrite
fi

source /etc/apache2/envvars
tail -F /var/log/apache2/* &
exec apache2 -D FOREGROUND
The following link is a useful reference for “Dockerfile” commands/fields - https://docs.docker.com/reference/builder
The latest version of my script can be found here - https://github.com/clijockey/mrsmiggins-homepage/blob/master/Dockerfile
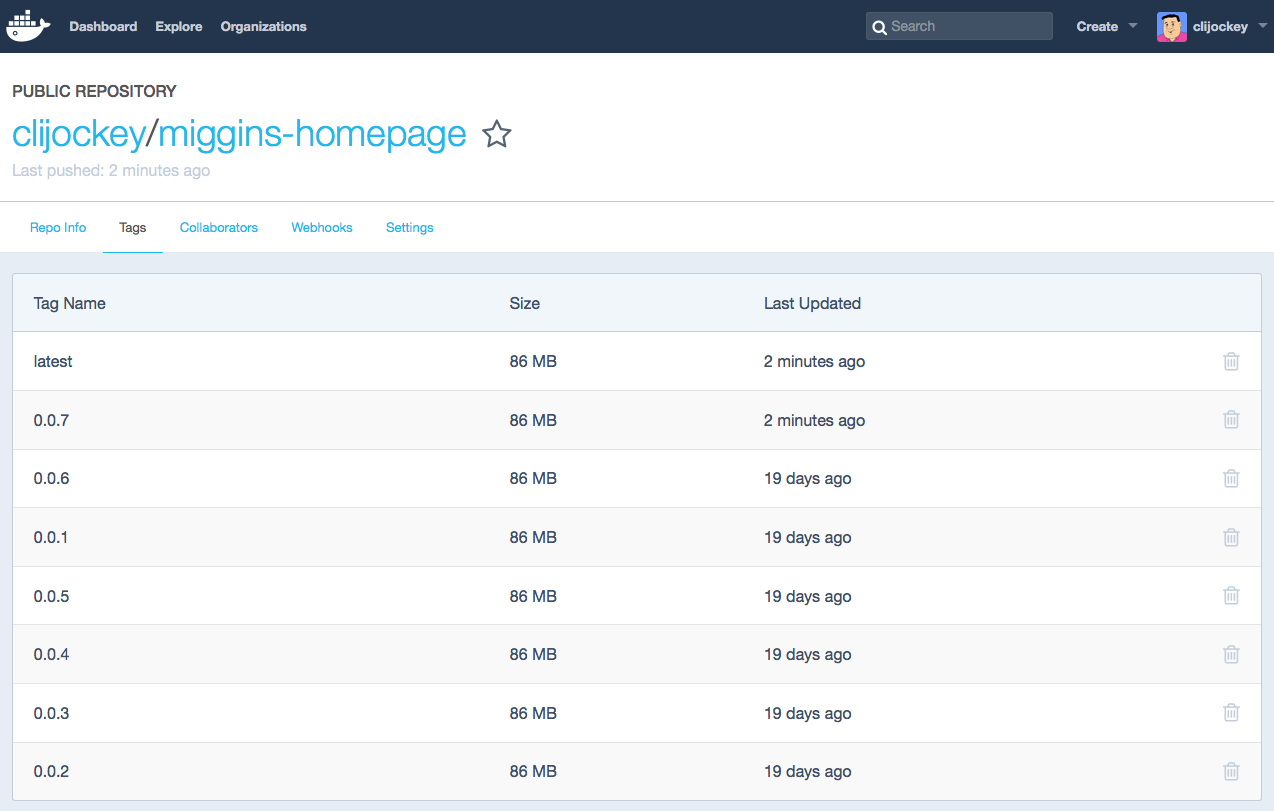
STEP 2 - Now we build the image using docker build
The commands used are docker images, docker build --tag="clijockey/miggins-homepage:0.0.7" . and docker history <docker id>.
STEP 3 - Now that I have an image that can be used the time has come to test it. To do this we need to run the image;
The commands that I used were;
     docker run -d -p 8989:80 clijockey/…….:0.1
     docker ps
STEP 4 - Once I have tested the image runs as expected I move the ‘latest’ tag to the container so that it’s easy to always pull down the most recent working version of the image.
The commands that I used were;
docker images
docker tag 9004eee52242 clijockey/miggins-homepage:latest
docker images
STEP 5 - Now that I have a image I am happy with how can I distribute it? One option is to use the DockerHub registry to store images to be used. This is the option I chose.
If you have not already logged in locally with your Docker Hub credentials then you will need to first of all do that;
docker login --username=yourhubusername --email=youremail@company.com
Password:
Login Succeeded
The you can issue the docker push command;
docker push clijockey/miggins-homepage
A new image version then appears in DockerHub
The image that I created via this method is stored here - https://hub.docker.com/r/clijockey/miggins-homepage/. Please feel free to use as you see fit or adapt to fit your needs.
The downside (this depends on your view) to this manual method is that every time you make a change to your website you will need to rebuild your image.
Auto Creation of Images
Another method available to you is to link your GitHub account with your DockerHub account so every time that you make changes (and push them to GitHub) a new image is automatically created. This method makes use of a Dockerfile created in advance/previously.
The docker instructions are pretty good here - https://docs.docker.com/docker-hub/builds/
The image that I created via this method is stored here - https://hub.docker.com/r/clijockey/mrsmiggins-homepage/
Running the Image
Whats next for what I’m building? The plan will be to create a demo in which Cisco Shipped (ciscoshipped.io) takes the container and auto deploys using the CI/CD testing. I will also document the example that I have but I will use Mantl (mantl.io) as a container platform.