A recent conversation got me thinking ….. a prospect has their development pipeline running through Visual Studio Team Services (VSTS) and we have been discussing Pivotal Cloud Foundry to run workloads. After the initial meeting two things sprung to mind; * I need to get a better understanding of VSTS! * I know that VSTS supports plugins and a Cloud Foundry one exists - what does it actually do?
As mentioned many times before, the way I learn is by doing! As a result I thought I would use VSTS to push an application to PCF.
What is VSTS
It is a cloud service for collaborating on code development providing a number of capabilities;
- Git repositories
- Build and release management
- Tools to support tracking work, bugs etc.
- Dashboards
- Wikis
In my case an important capability is VSTS supports extensions to allow for integration with other tools/environments/platforms …… say Cloud Foundry!
Simple Deployment
The first thing that is needed is access to VSTS, you can register a free account here.
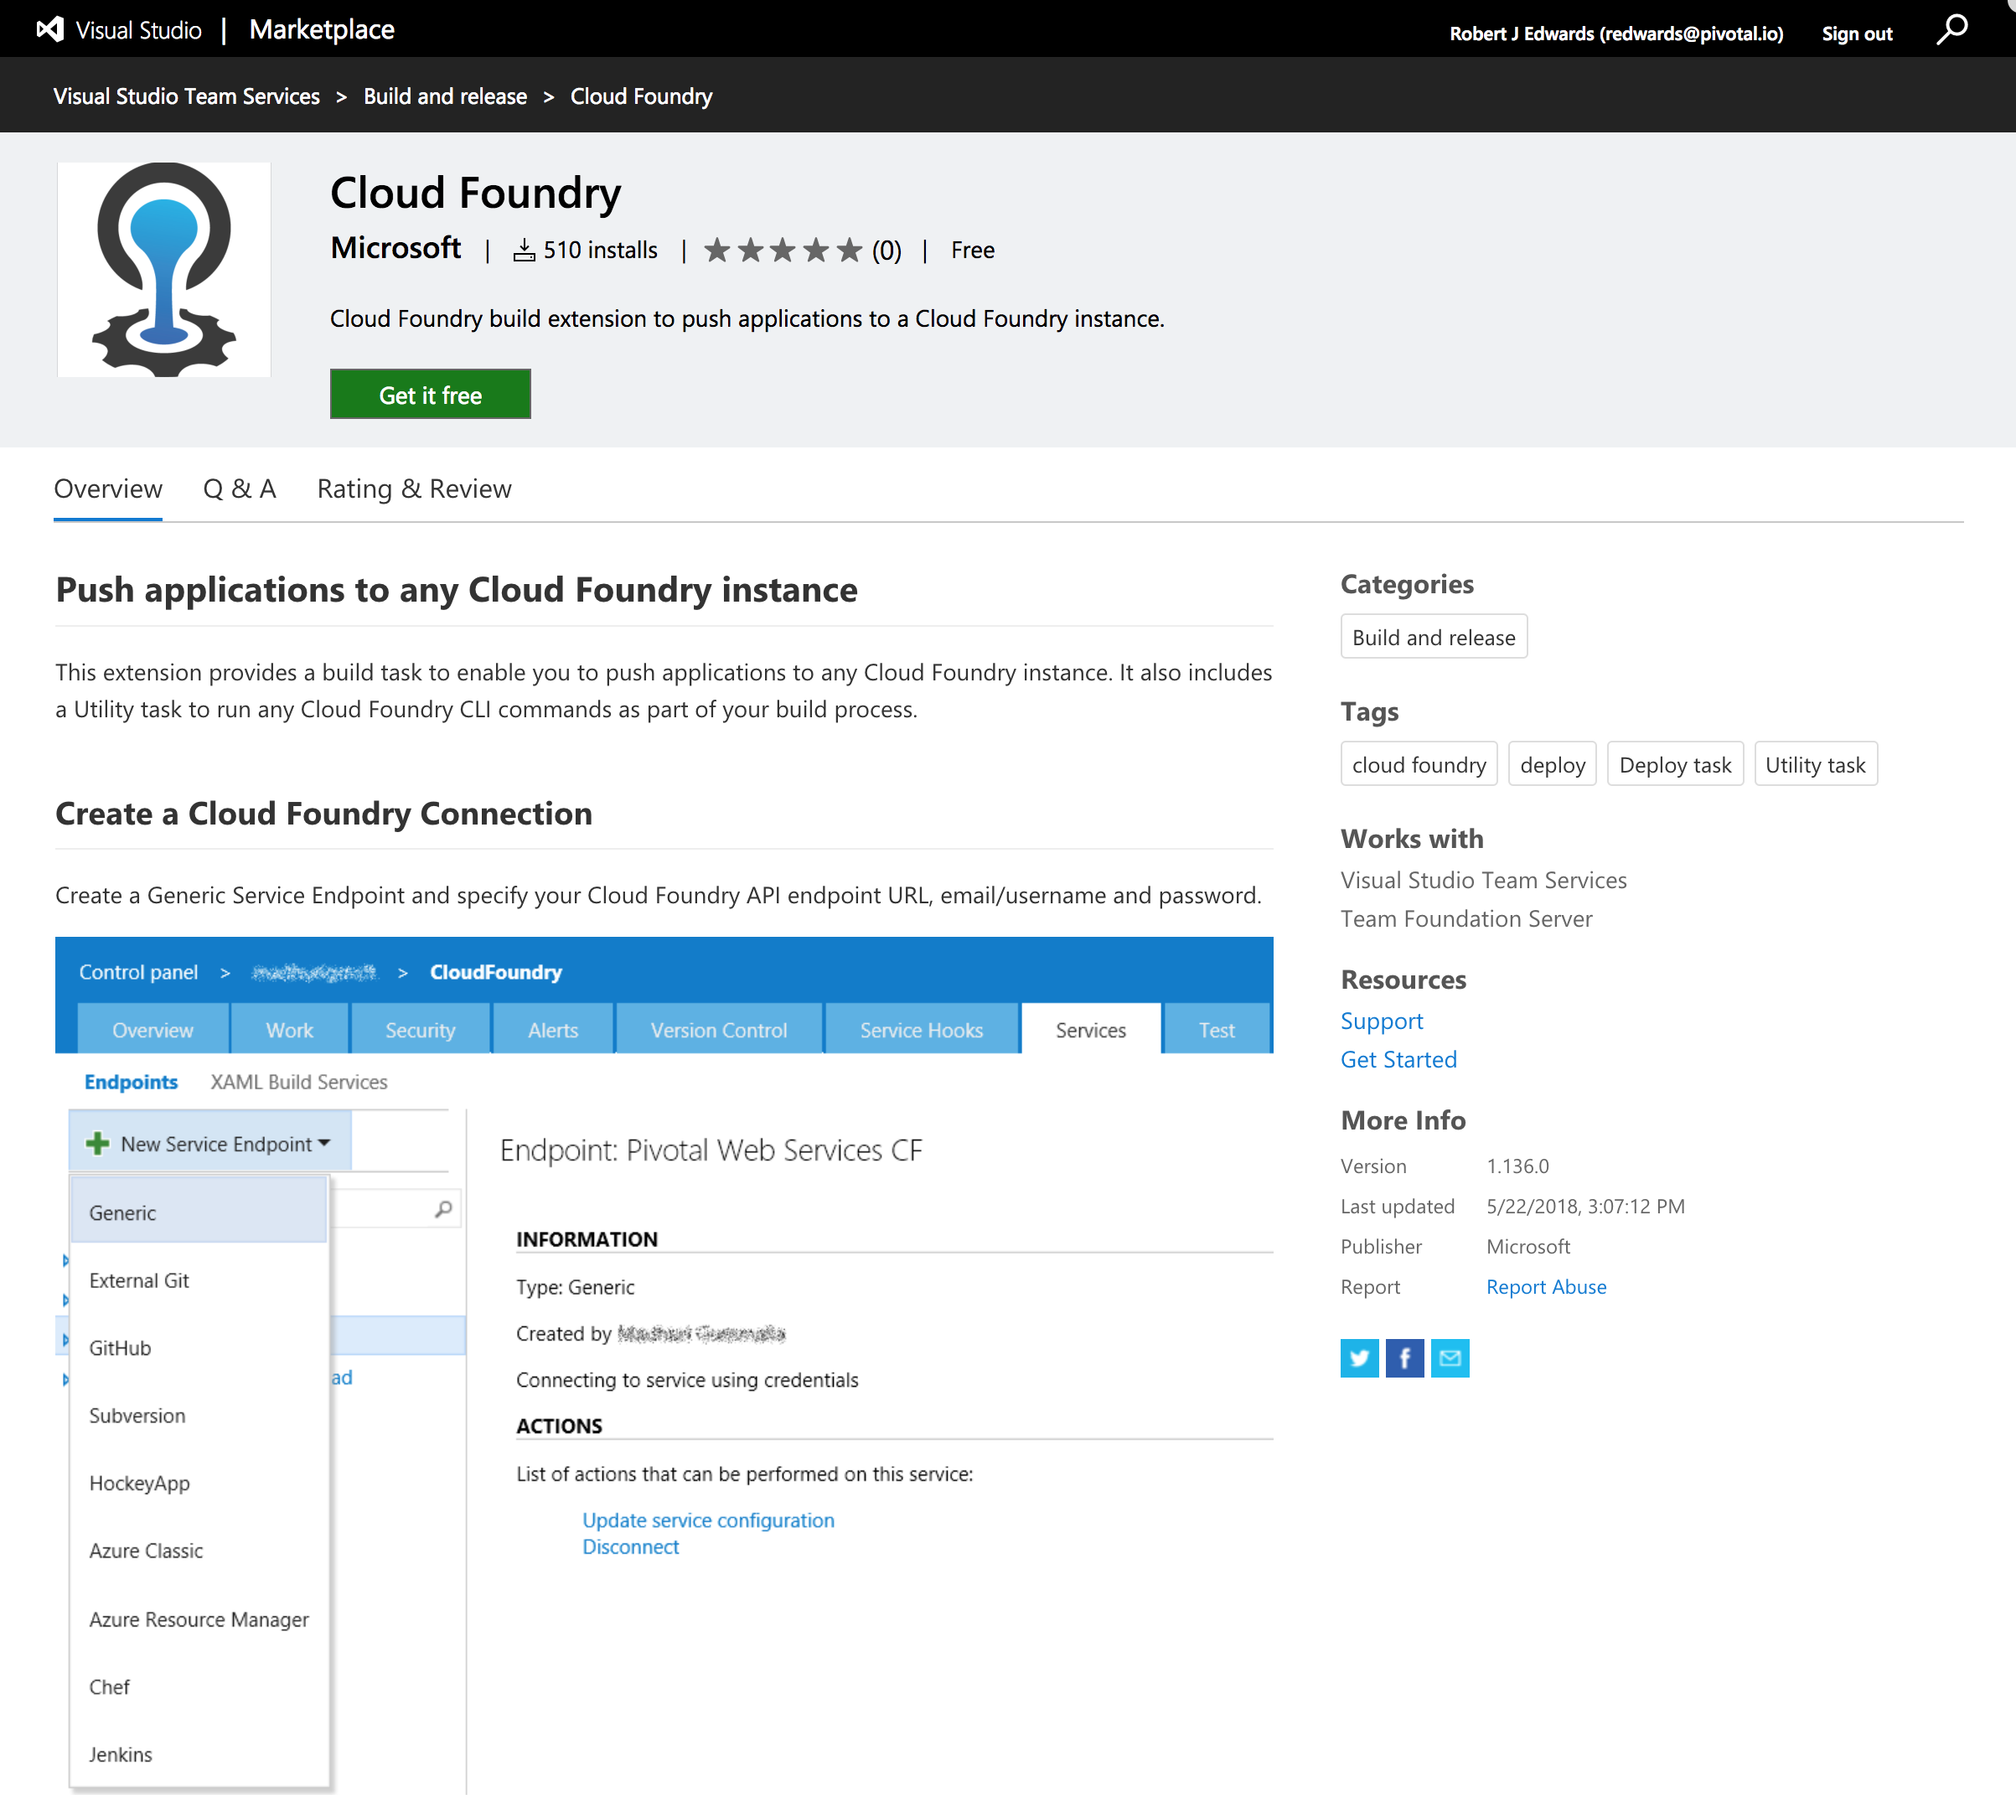
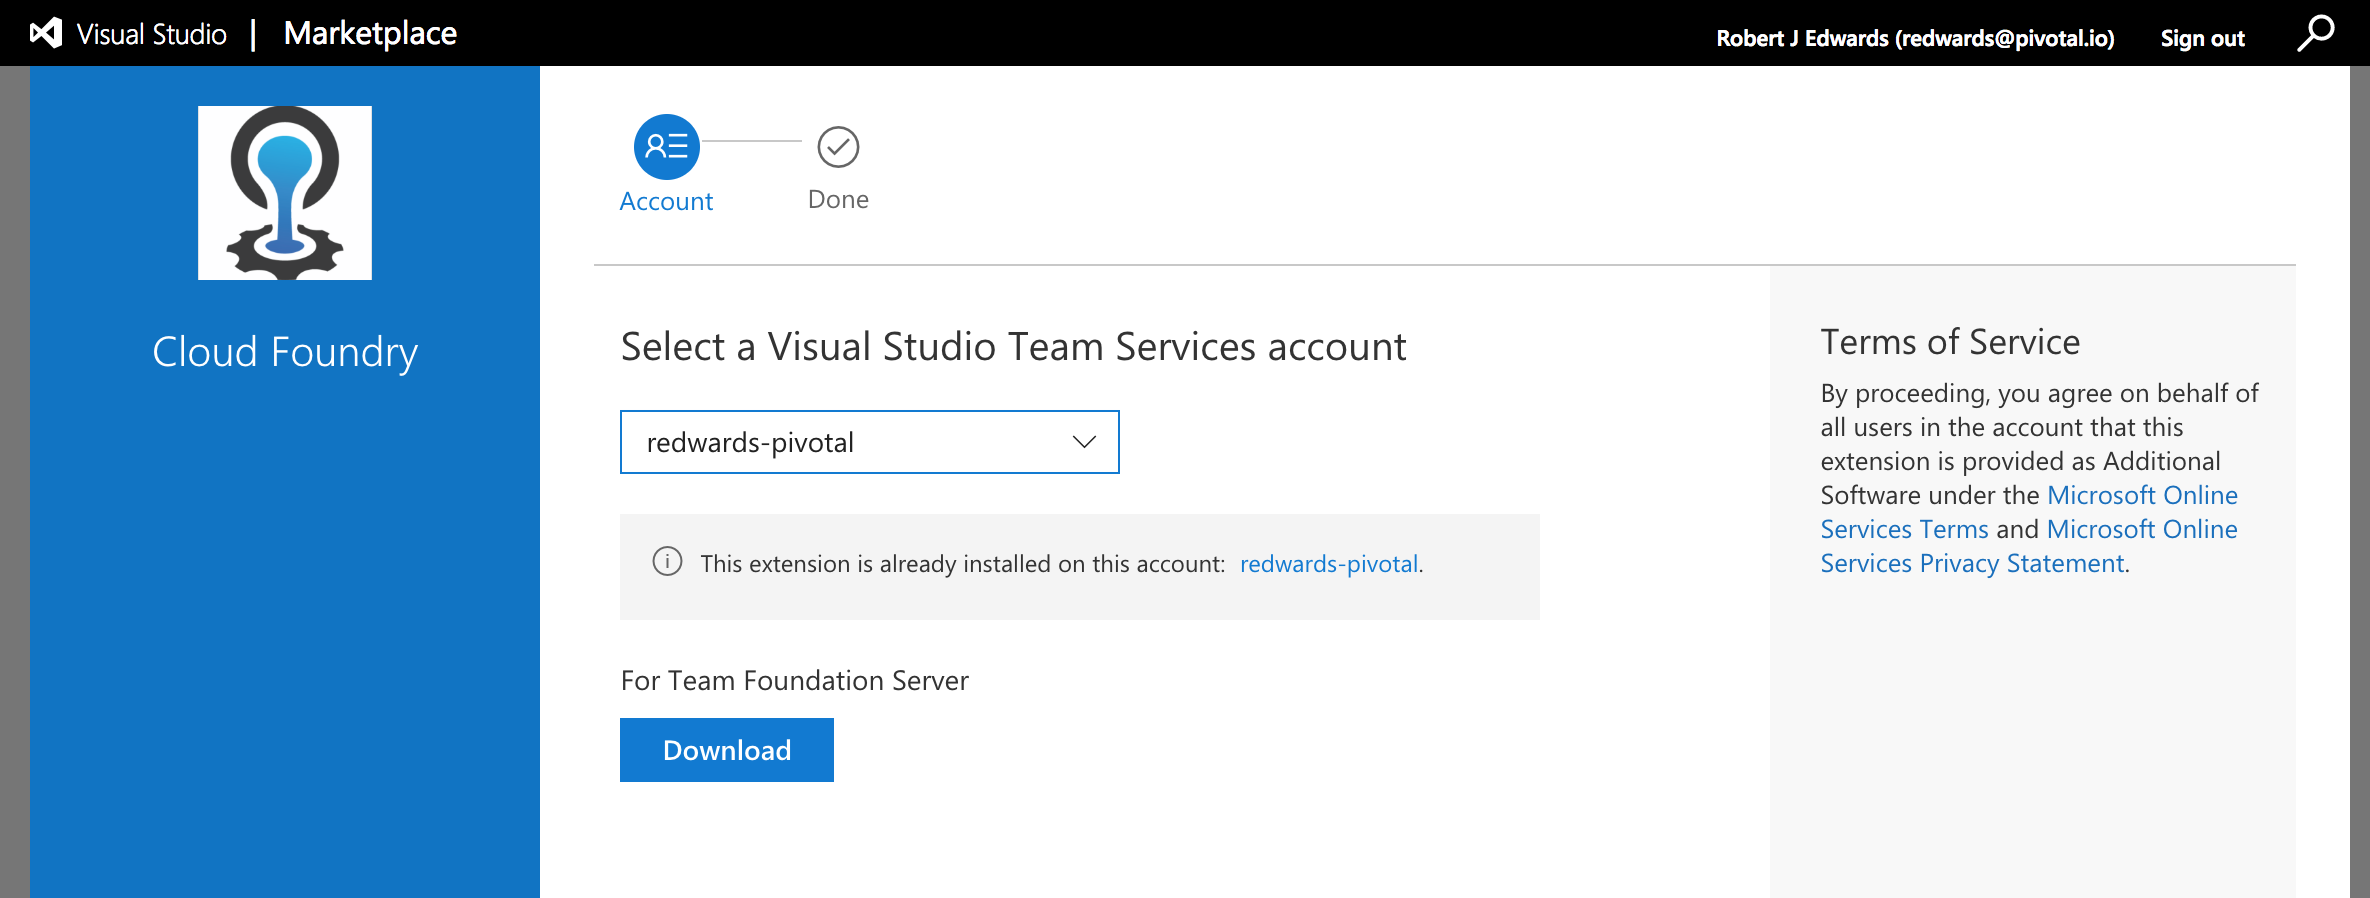
STEP 1: Install Cloud Foundry Plugin It is easy to install plugins, just navigate to the marketplace location and hit the “Get it free” button. Additonal detail of the plugin can be found in its GitHub repo
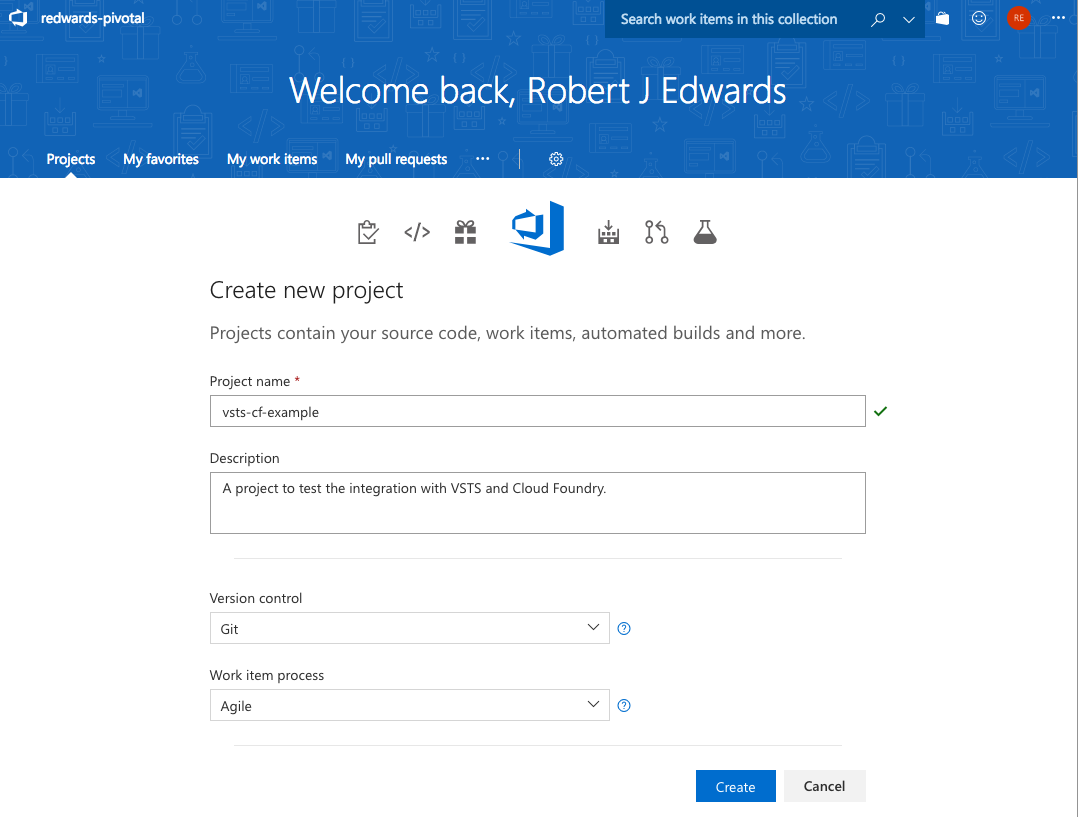
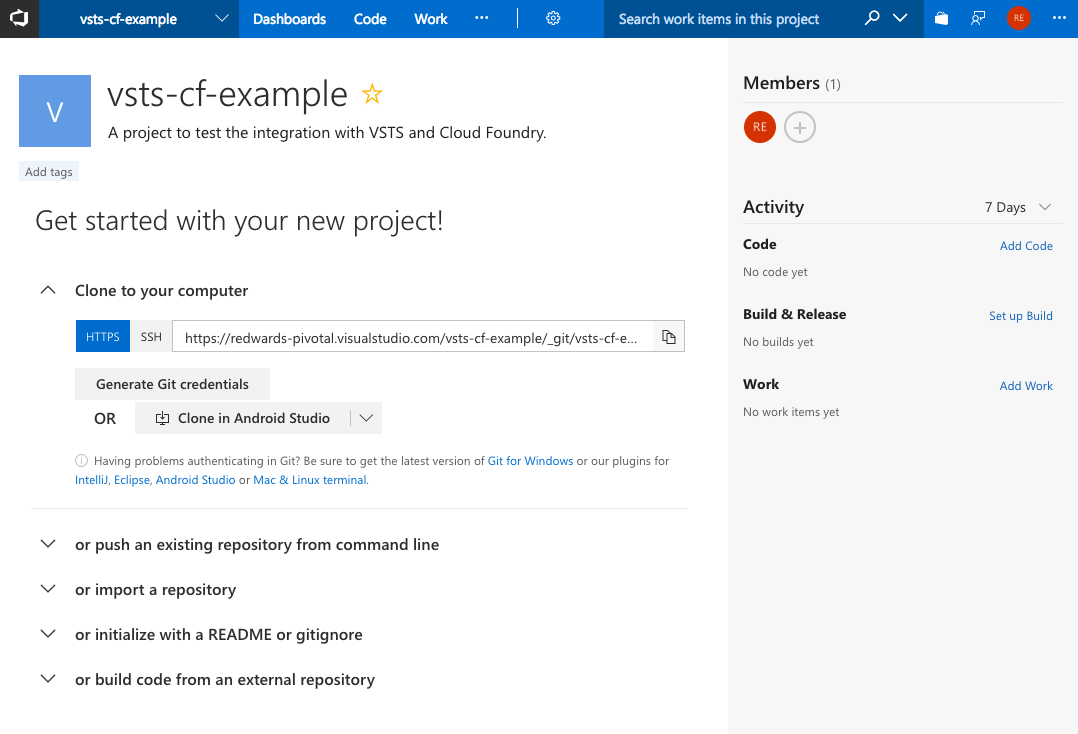
STEP 2: Create a Project Time to create the project in VSTS that you want to store your code in;
 Just link other git repository tools you get detail on how to access and use it.
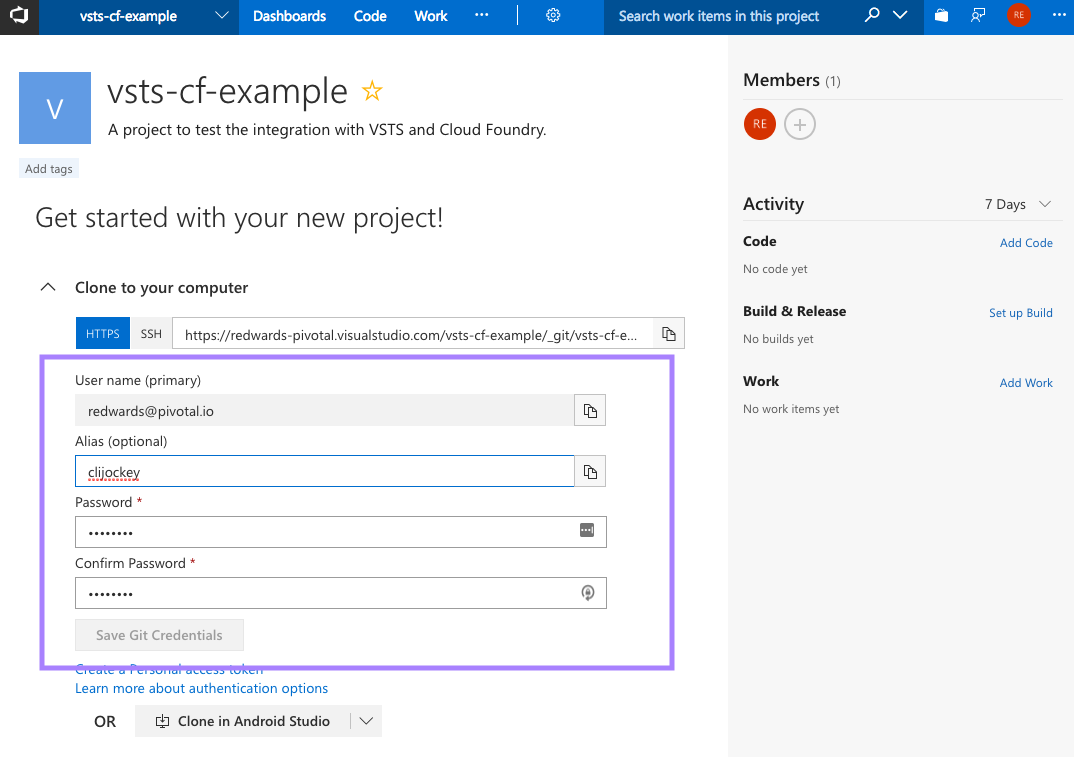
 Once it is created I setup some specific git credentials that I could use to access the repo;
Now time to add some code to the repo by first of all cloning it locally;
$ git clone https://xxxxxx.visualstudio.com/vsts-cf-example/_git/vsts-cf-example
Cloning into 'vsts-cf-example'...

$ cd vsts-cf-example
Create a file called index.php however prefered, I used vi, and add the following;
<?php
    phpinfo();
?>
While this might not be the most amazing code you have seen it allows for the creation of a very quick demo. Once the file is created push it up to the git repo;
$ git add index.php
$ git commit -m "initial appl code"
[master (root-commit) 7cee545] initial appl code
 1 file changed, 3 insertions(+)
 create mode 100644 index.php

$ git push
Counting objects: 3, done.
Writing objects: 100% (3/3), 239 bytes | 239.00 KiB/s, done.
Total 3 (delta 0), reused 0 (delta 0)
remote: Analyzing objects... (3/3) (6 ms)
remote: Storing packfile... done (1001 ms)
remote: Storing index... done (60 ms)
To https://redwards-pivotal.visualstudio.com/vsts-cf-example/_git/vsts-cf-example
 * [new branch]      master -> master
STEP 3: Create CI Build
Now that we have code we want to build a pipeline to push the code to somewhere. Click on the Set up Build button;
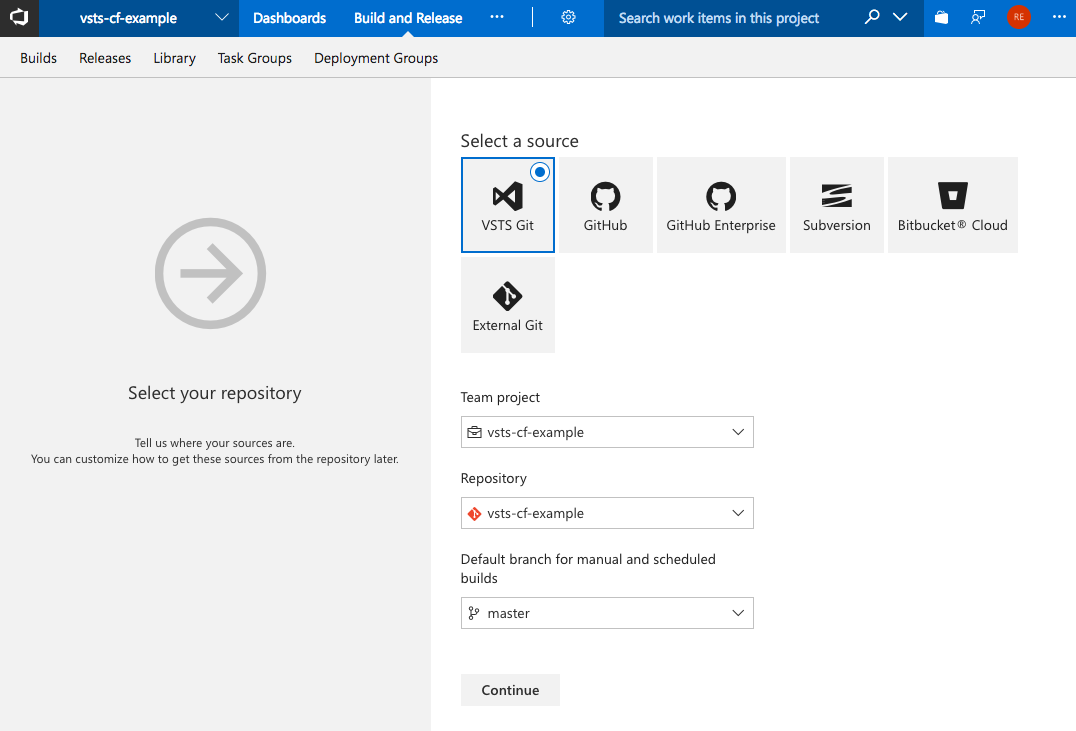
 Select the source information;
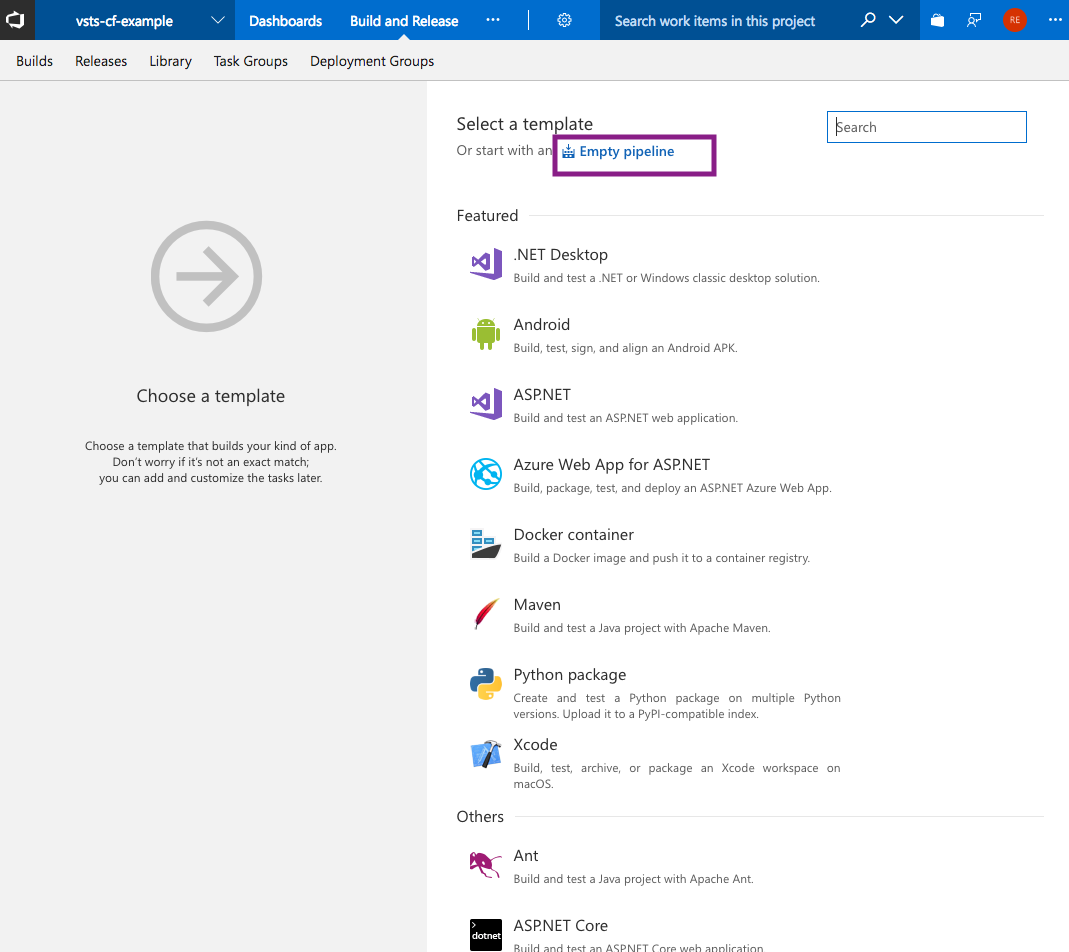
 We want to use an “empty pipeline” for this example;
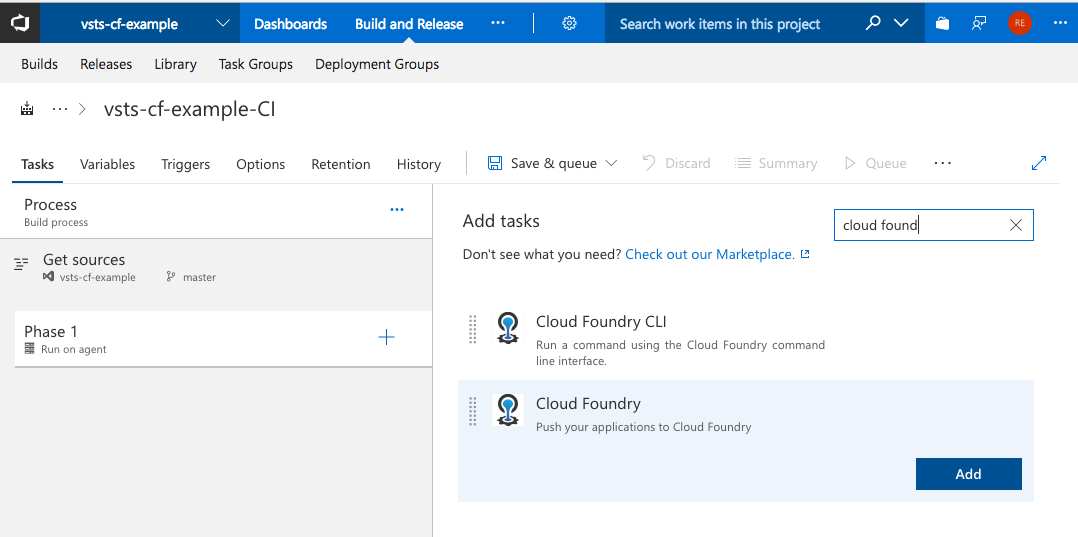
 The baseline pipeline is now created. In this case we want to push the application to a Cloud Foundry instance therefore need to search for the plugin and add to “Phase 1”'
![]()
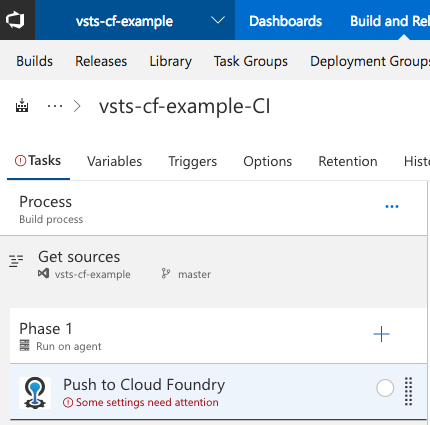
 Now we can configure some of the
 cf push settings;
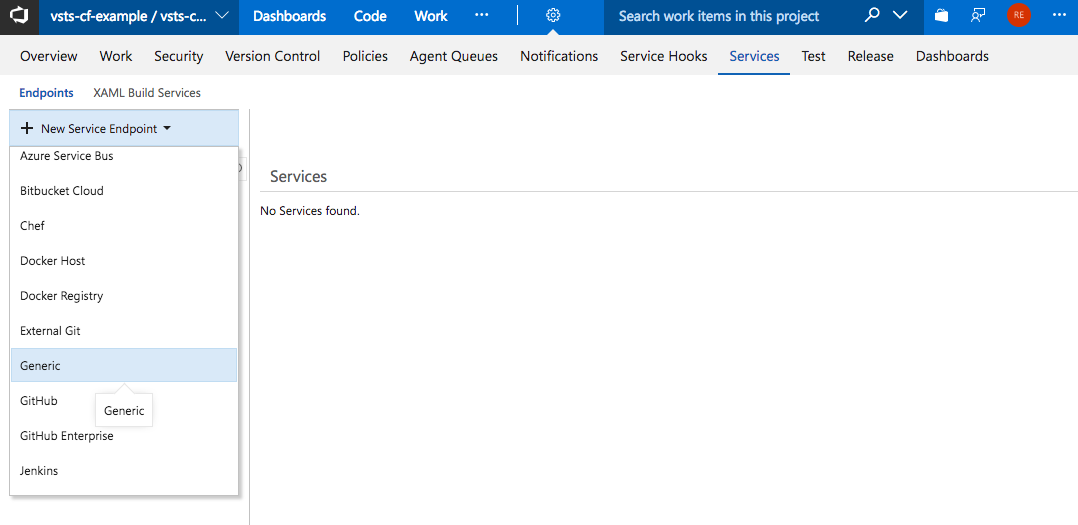
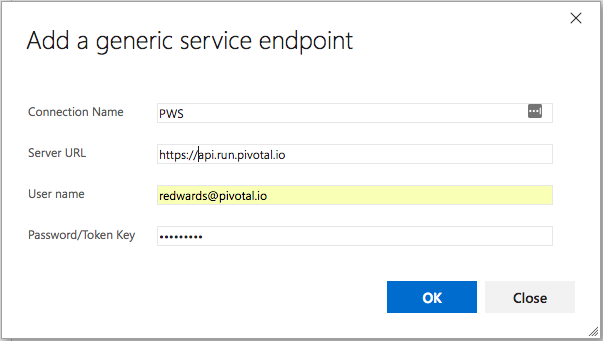
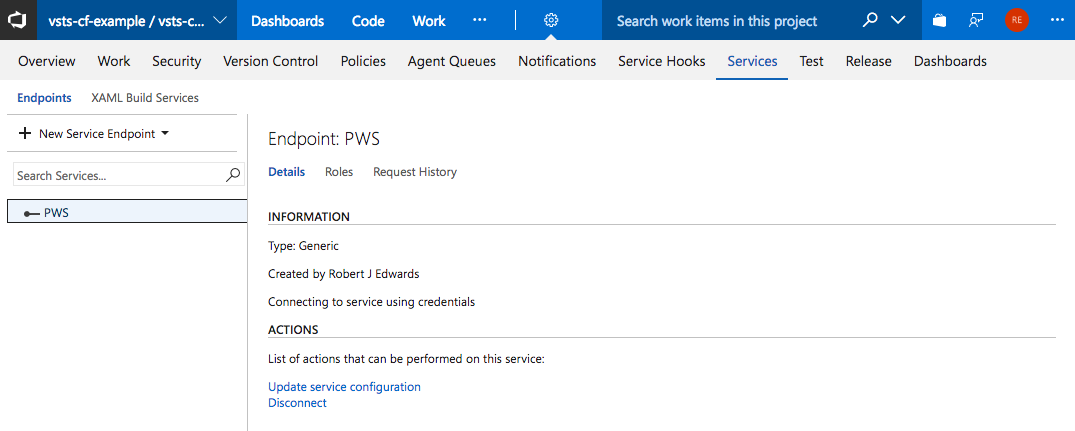
The first thing is which Cloud Foundry endpoint do we want to use. We need to click “manage” and define all the required endpoint information;
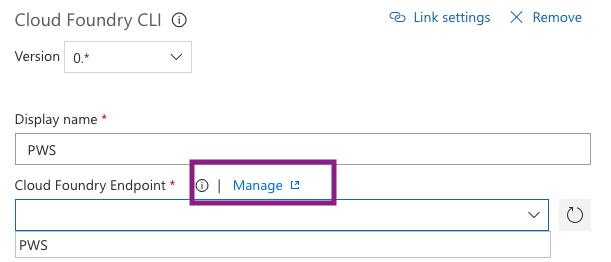 Need to make use of the
 Generic service endpoint;
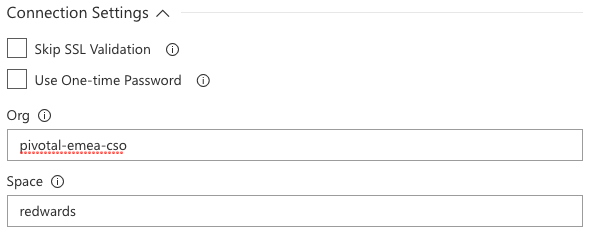
Set which Org and space you want the application to be pushed to;
Once the CF endpoint has been defined and set we need to configure some of the “deployment options”. If I already had a manifest.yml for a project that could be used however in this example I am just going to let the platform work out the settings (buildpack etc.), although I will specific the name to use;
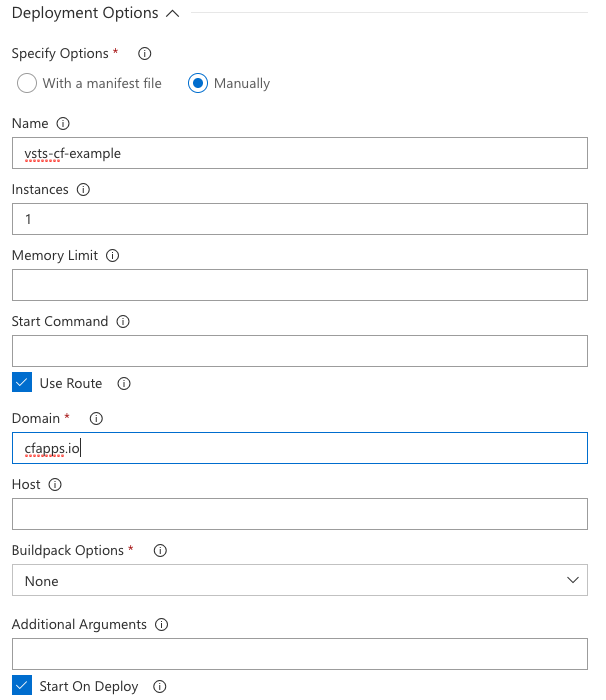
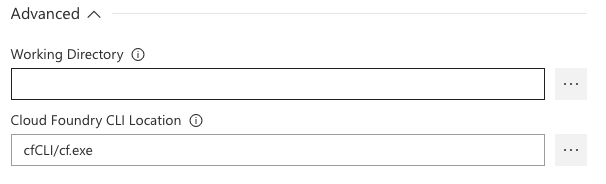
This is a very important step, you need to ensure the agent being used by VSTS has access to the cf CLI. In my example I used the default hosted option which does not have the CLI installed so I needed to check in the CLI to my repo (I dropped into ./cfCli directory) and then provide the path in the “Advanced” settings section.
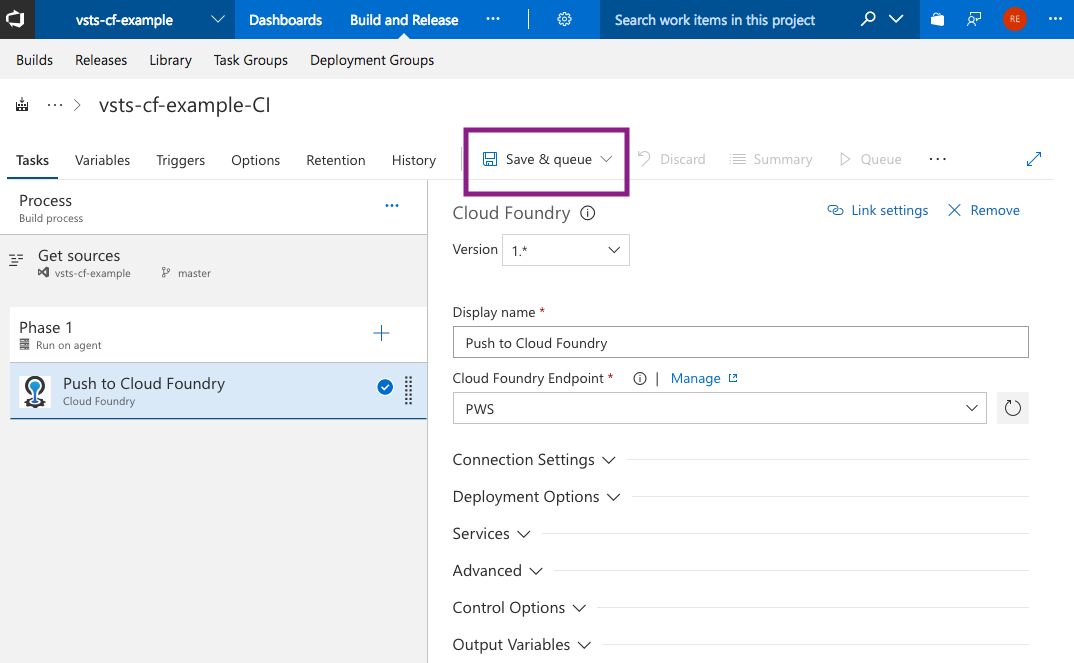
 Now save
STEP 4: Run the build definition
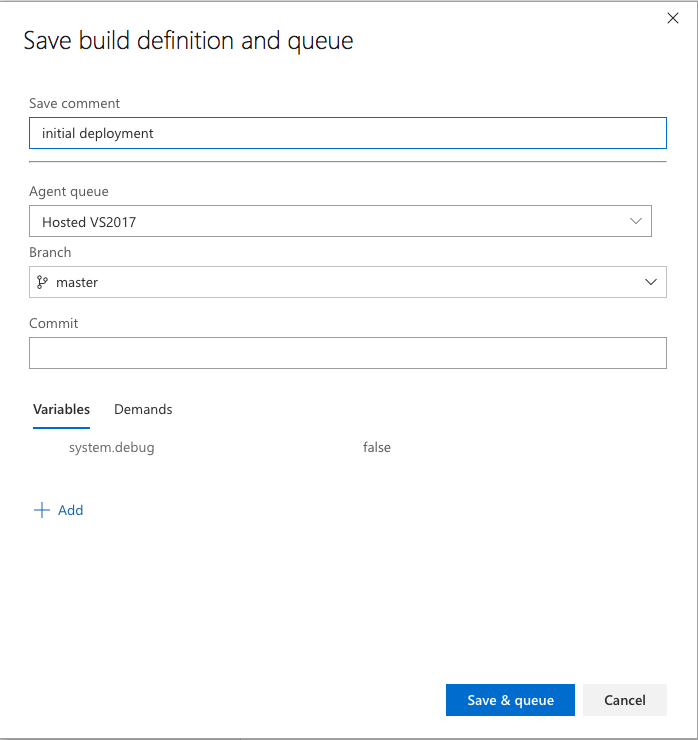
Now save the build definition and queue it to be actioned
 A build number will be queued, you can click on the number to get more details;
 Once the build has reached the front of the queue the build will be run;
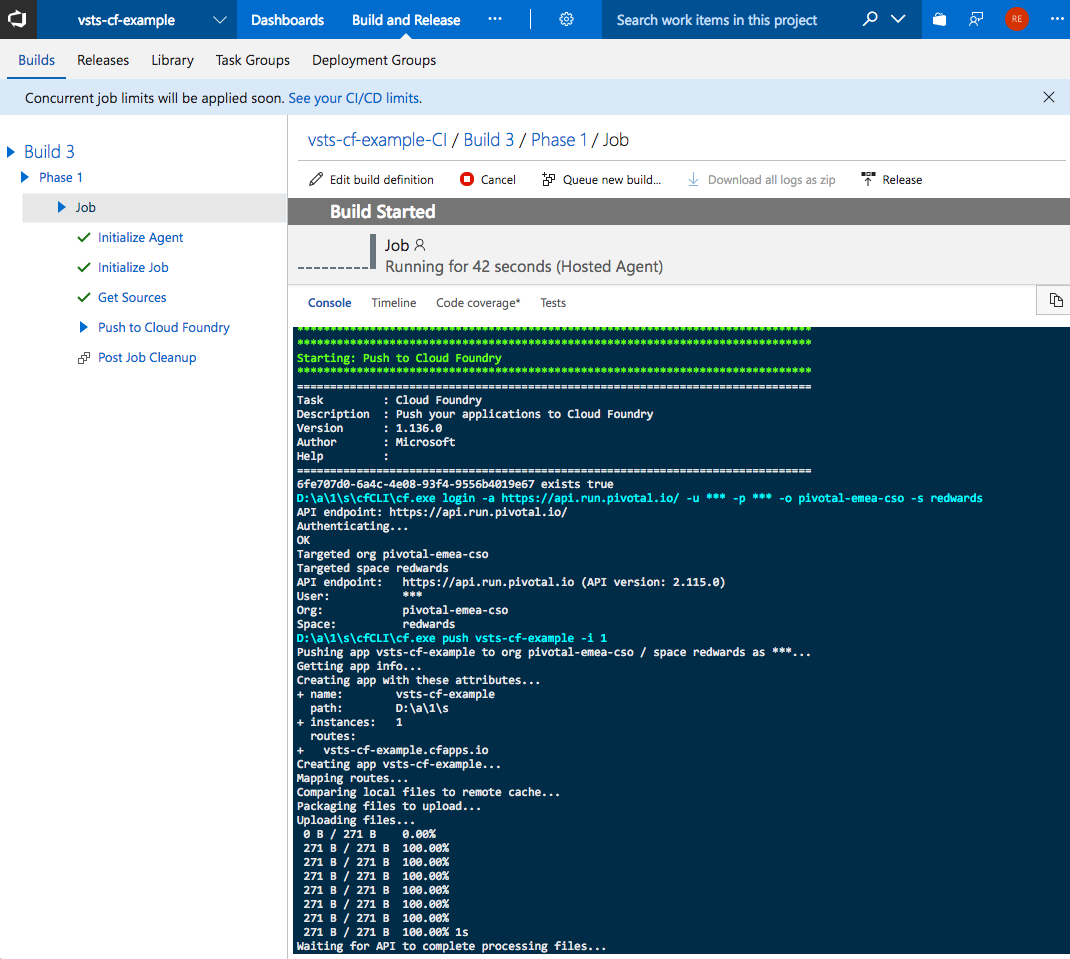
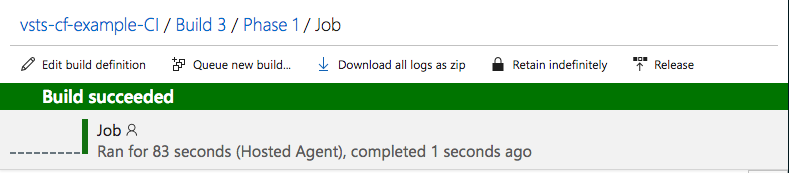
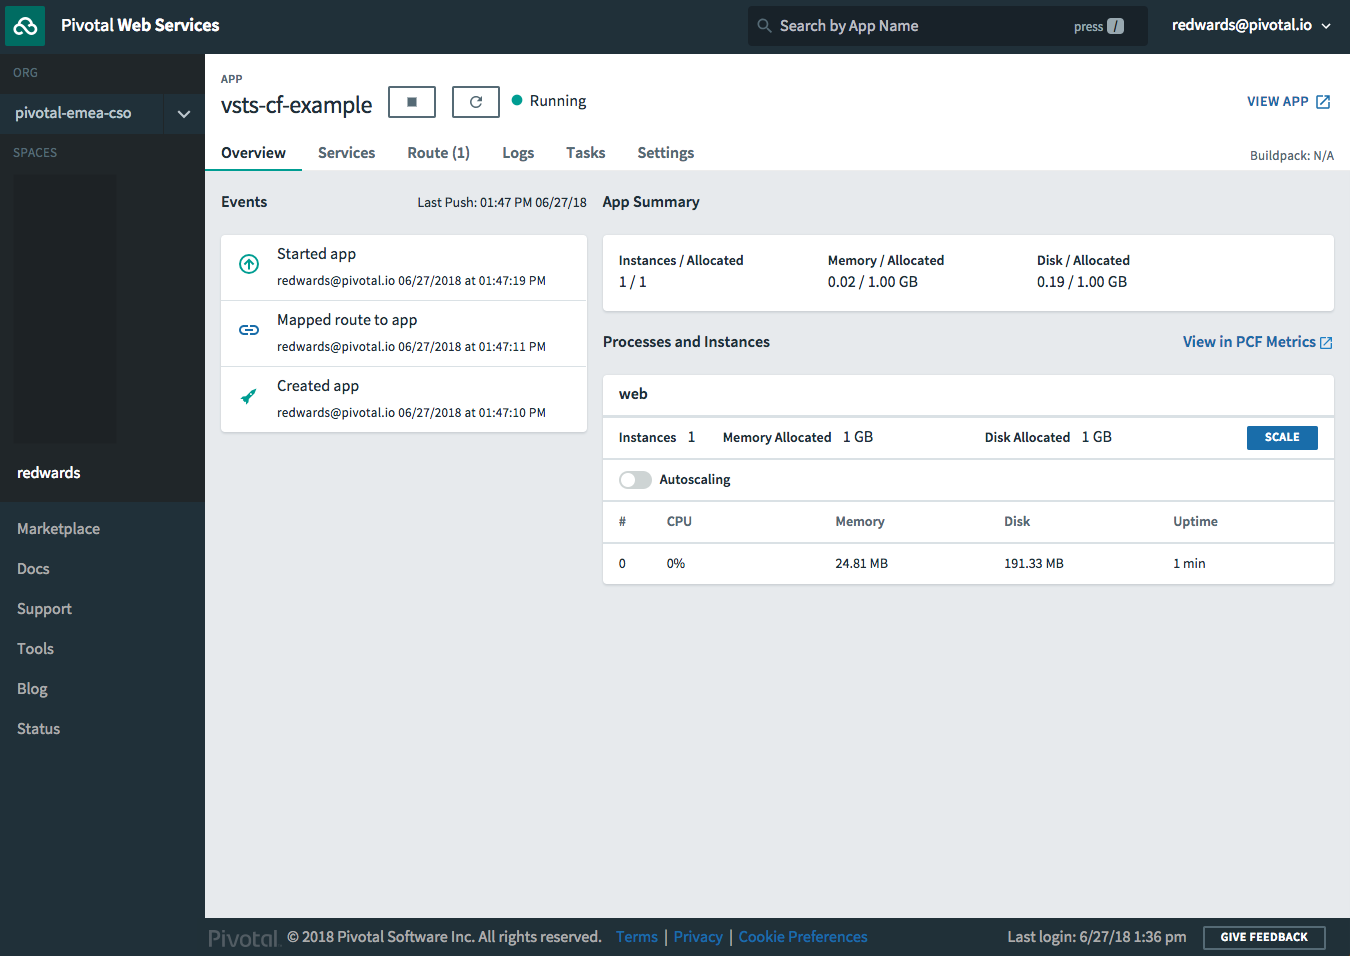
Now we should have our application running on the Cloud Foundry endpoint we defined;
Summary
Before I start this process I anticipated the whole process to be a bit of a pain, I was pleasantly surprised at how straight forward it ended up being. I now want to play with service bindings (looks straight forward) and a more complex, multi-step build (maybe with some test and multiple platforms).